How to Create a Succession Planting Schedule for Continuous Harvests
Maximize your garden productivity throughout the growing season by using succession planting. This guide explains how to stagger your sowing schedule to ensure a steady supply of fresh vegetables from spring through autumn without overwhelming your kitchen with a single harvest, allowing you to enjoy consistent yields rather than one massive, unmanageable bounty.
Achieving a continuous harvest requires more than just good timing; it demands a focus on soil health, productive raised beds, and evidence-conscious plant care. While the process takes some planning, it is highly rewarding. By understanding your local climate and specific crop maturity rates, you can effectively manage your space for maximum efficiency.
In this article, we explore sustainable gardening techniques that support wildlife-friendly landscapes while boosting your overall output. You will learn practical strategies for rotating crops, selecting the right varieties for staggered maturity, and maintaining healthy soil to support repeated plantings. Follow our expert tips to transform your garden into a reliable, year-round food source.

Understanding the Principles of Succession Planting
Succession planting is the cornerstone of a high-yield, sustainable garden. Instead of planting your entire crop at once—which leads to a glut of produce followed by empty garden beds—succession planting focuses on continuous production. By mastering three core techniques, you can keep your raised beds productive from early spring through the first frost, all while maintaining soil health and supporting local biodiversity.
The first method is interval sowing. This technique involves planting small amounts of the same crop every two to three weeks. For example, rather than sowing a full row of lettuce, plant one-third of the row, wait two weeks, and plant the next third. This ensures you have a steady supply of fresh greens rather than an overwhelming harvest that goes to waste. This method is ideal for fast-maturing crops like radishes, spinach, arugula, and cilantro.
The second method utilizes varietal diversity. Many vegetable varieties are bred to mature at different speeds, even within the same species. By selecting a mix of early, mid-season, and late-maturing varieties, you can plant them all on the same day and enjoy a staggered harvest. For instance, planting an early-maturing tomato variety alongside a late-season beefsteak tomato ensures your harvest window extends significantly without requiring extra labor throughout the season.
The third method is relay planting, which is the most effective way to maximize space in raised beds. This involves planting a new crop immediately after a previous one has been harvested. To succeed with this, you must treat your soil as a living ecosystem:
- Clear and Amend: Once a crop is harvested, remove the debris and gently incorporate a small amount of finished compost or organic fertilizer into the top few inches of soil. This replenishes the nutrients depleted by the previous crop.
- Minimize Soil Disturbance: Avoid turning the soil deeply, which disrupts beneficial fungi and soil structure. Use a broadfork or a hand trowel to aerate the area before planting your next seeds or starts.
- Match Nutrient Needs: Rotate your plant families. If you just harvested heavy feeders like kale or broccoli, follow them with legumes like bush beans, which can help fix nitrogen back into the soil.
Integrating these methods requires a shift in how you view your garden. Instead of seeing a raised bed as a static space for a single seasonal crop, view it as a rotating production line. This approach not only increases your yield but also supports wildlife-friendly landscapes. By keeping your beds covered with living plants throughout the season, you provide continuous habitat and nectar sources for beneficial insects and pollinators.
Evidence-conscious plant care is essential when practicing succession planting. Because the soil is constantly working, it is prone to compaction and nutrient depletion. Always monitor the moisture levels in your beds; succession-planted seedlings are particularly vulnerable to dry spells. Using a layer of organic mulch, such as straw or shredded leaves, between your plantings helps retain soil moisture, suppresses weeds, and breaks down over time to feed the soil biology.
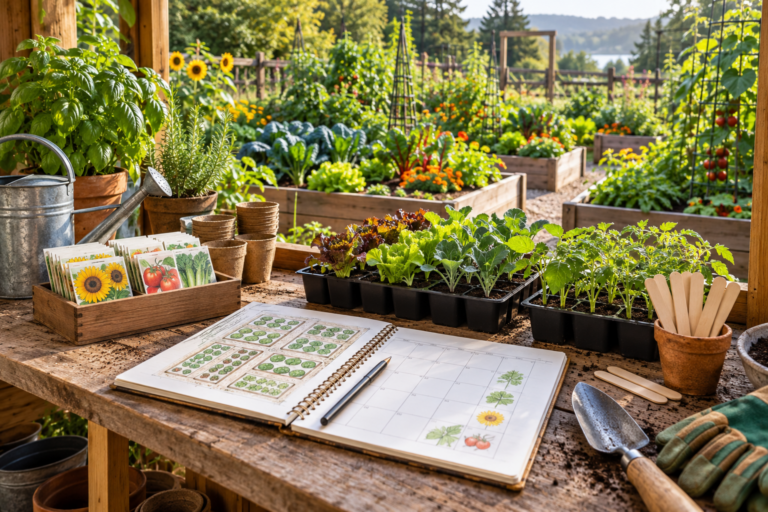
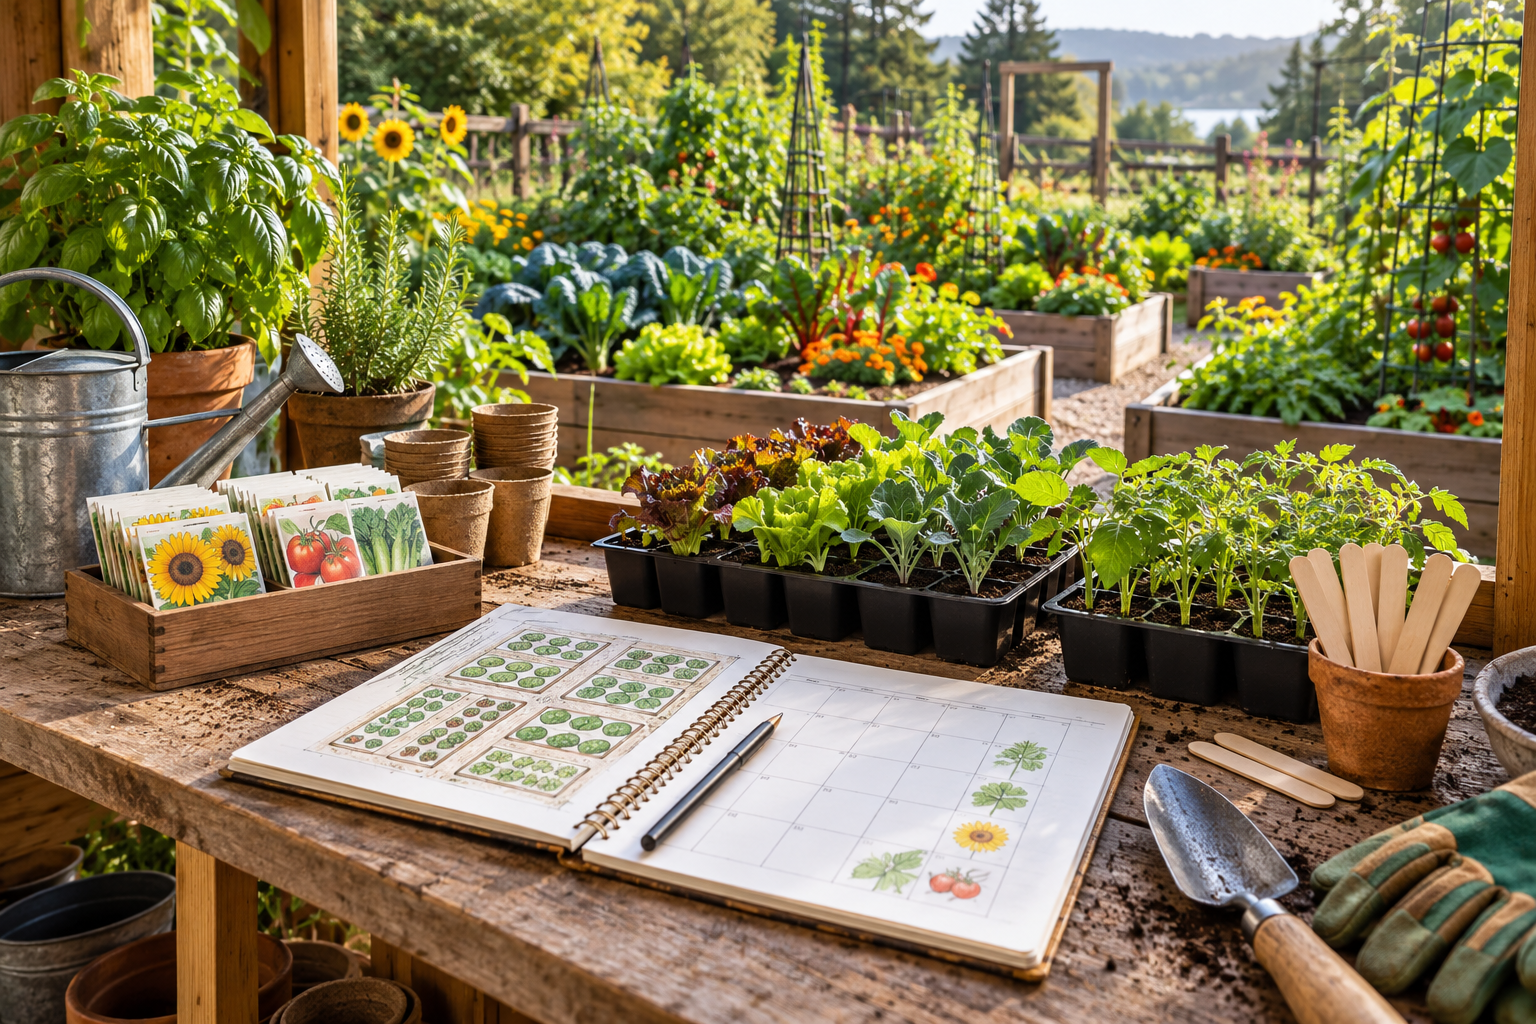
Finally, keep a garden journal to track your planting dates and harvest windows. Climate conditions vary by region, and your specific microclimate will dictate how quickly your crops mature. By recording when you sowed and when you harvested, you can refine your schedule each year, creating a customized succession plan that aligns perfectly with your local environment. This intentional approach turns gardening from a seasonal chore into a sustainable, year-round cycle of abundance.
Developing Your Seasonal Planting Timeline
A successful succession planting strategy begins with a firm grasp of your local climate. Your garden’s productivity is anchored by your first and last frost dates, which dictate the length of your growing season. Before you draft a schedule, search online for your local USDA hardiness zone or regional extension office data to identify the average dates for the final spring frost and the first autumn frost. These two dates define your window for warm-season crops and help you calculate how many successions you can realistically fit into your calendar.
Once you know your frost dates, you can map out your planting timeline. Succession planting is essentially a math game designed to prevent a “glut and gap” cycle, where you are overwhelmed by harvests one week and left with nothing the next. By staggering your sowings, you ensure a steady, manageable supply of fresh produce throughout the season.
For fast-maturing crops, a reliable rule of thumb is to sow new seeds every two to three weeks. This cadence works exceptionally well for the following varieties:
- Leafy Greens: Lettuce, arugula, and spinach grow quickly and can be harvested as baby greens in as little as 30 days.
- Root Vegetables: Radishes are the ultimate succession crop, often ready to pull just 25 to 30 days after sowing.
- Legumes: Bush beans are highly productive; planting a new row every three weeks keeps your kitchen stocked through the summer.
To calculate your specific sowing intervals, look at the “days to maturity” listed on your seed packet. If a variety takes 60 days to mature, you know that a seed planted today will be ready for harvest in two months. To ensure you have a harvest ready two weeks after that, you should sow your next batch of seeds exactly two weeks after the first. This creates a rolling harvest that follows your initial planting.
Building healthy soil is the secret engine behind this intensity. Because succession planting asks a lot of your garden beds, you must replenish nutrients between every cycle. When you clear a row of finished radishes, do not simply plant new seeds into the depleted dirt. Instead, work an inch of high-quality compost into the top layer of soil. This replenishes the organic matter and provides the nitrogen boost necessary for the next round of seedlings to thrive.
Consider the architecture of your raised beds as you plan. If you are growing in a limited space, use the “interplanting” method alongside your successions. For example, sow a row of slow-growing carrots, and in the empty space between them, plant a quick-growing crop like radishes. By the time the carrots need the extra room to expand, the radishes will have been harvested, leaving no space wasted and keeping the soil covered and protected from erosion.
Wildlife-friendly landscapes also play a role in your timeline. By maintaining a diverse garden with native flowering plants nearby, you ensure that pollinators are present throughout the entire season. These beneficial insects are essential for the fruit-bearing successions, such as beans and cucumbers. When your garden is a balanced ecosystem, your plants are more resilient to the stress of constant harvesting and replanting.
Finally, keep an evidence-conscious log of your progress. Every region has microclimates that can shift your actual harvest dates by a week or two compared to the packet instructions. Keep a simple notebook or digital spreadsheet where you record the date you sowed, the date of the first harvest, and any observations about soil moisture or pest pressure. Over time, this personal data becomes more valuable than any generic planting chart, allowing you to refine your schedule for maximum efficiency and a truly continuous harvest.

Maintaining Soil Health for Intensive Cropping
Succession planting is essentially an endurance sport for your soil. When you maximize your garden’s output by immediately replanting harvested beds, you are asking the earth to work harder and faster than it would in a traditional, single-harvest cycle. If you don’t actively replenish the nutrients and structure between these plantings, your yields will inevitably diminish, and your plants will become more susceptible to pests and diseases.
Think of your soil as a living bank account. Every time a crop grows, it makes a withdrawal of nitrogen, phosphorus, potassium, and essential micronutrients. If you keep withdrawing without making deposits, the account eventually goes bankrupt. To sustain intensive cropping, you must shift from a “set it and forget it” mindset to a continuous replenishment strategy.
The most effective way to maintain this balance is through the regular application of high-quality organic matter. Before each new planting, remove any crop residue and incorporate one to two inches of finished compost into the top few inches of the soil. Compost does more than just provide a slow-release nutrient boost; it acts as a structural anchor for your raised beds.
In high-output raised beds, soil structure is paramount. Intensive planting relies on high-density root systems, which require soil that is porous enough to allow for rapid root expansion yet structured enough to hold moisture. Organic matter improves this “tilth,” preventing the compaction that often occurs in beds that are constantly being worked and replanted.
To bridge the gap between heavy feeding crops—like tomatoes, peppers, or brassicas—consider these essential soil-care practices:
- Top-dress with compost: Simply spreading a layer of compost over the soil surface between crops allows earthworms and soil organisms to incorporate it naturally, preserving the delicate soil structure you have worked to build.
- Use slow-release organic fertilizers: For fast-growing succession crops, supplement compost with a balanced, slow-release organic granular fertilizer. These break down gradually, providing a steady supply of nutrients rather than a quick, potentially damaging spike.
- Incorporate cover crops or green manures: If you have a planned break in your schedule, even for just a few weeks, sow a fast-growing cover crop like buckwheat. It protects the soil surface, prevents nutrient leaching, and adds valuable biomass when turned back into the bed.
- Prioritize moisture retention: Intensive beds dry out faster due to increased root competition and reduced shade. Use organic mulches, such as straw or shredded leaves, to keep the soil surface cool and moist, which in turn supports the microbial life necessary for nutrient cycling.
Evidence-conscious plant care also means recognizing when your soil needs a rest. If you notice a decline in plant vigor despite your best efforts, it may be a sign of soil fatigue or a buildup of crop-specific pathogens. In these instances, rotating plant families is essential. Do not follow a heavy feeder like kale with another heavy feeder like broccoli in the exact same spot without a significant soil amendment break.
Finally, keep an eye on your soil’s physical condition. If the soil in your raised beds feels dusty and lifeless, it lacks the biological activity required to break down fertilizers. If it feels like a dense, heavy brick, it lacks the aeration necessary for healthy root development. By focusing on building soil structure through consistent organic additions, you create a resilient foundation that can support continuous harvests throughout the entire growing season.
Remember, you are not just feeding your plants; you are cultivating a complex ecosystem. When you provide the soil with the right inputs and protect its structure, it will reward your succession planting efforts with consistent, high-quality yields, regardless of how many times you turn the bed over.
Safety and Tool Best Practices
Maintaining a continuous harvest cycle requires frequent bed preparation, which often involves handling soil, organic amendments, and sharp implements. Prioritizing safety during these transitions ensures that your gardening remains a sustainable, long-term practice rather than a source of injury.
When clearing old crops or preparing soil for new sowings, always wear sturdy, puncture-resistant gardening gloves. Soil is a living ecosystem that may harbor bacteria, fungi, or sharp debris such as hidden wire, broken glass, or remnants of previous plant supports. Protecting your hands prevents minor cuts that can become easily infected in a moist, soil-rich environment.
If you utilize mechanical tillers or power cultivators to aerate your raised beds between plantings, adhere to strict operational protocols:
- Always turn the engine off and disconnect the spark plug wire before attempting to clear jams or remove tangled root debris from the tines.
- Wear high-quality ear protection to prevent long-term hearing damage from prolonged engine noise.
- Maintain a firm grip on the handles and keep your feet and hands well away from the rotating blades at all times.
- Operate machinery only when the soil moisture level is appropriate; tilling soil that is too wet can destroy soil structure and create compacted clods, while tilling soil that is too dry can create excessive, harmful dust.
Hand tool management is equally critical for a safe garden workspace. Tools like trowels, hori-hori knives, and hand rakes should never be left lying in the soil or on the edge of a raised bed. When a tool is not actively in your hand, it should be placed in a designated storage area, such as a wall-mounted rack, a dedicated tool bucket, or a tool belt.
Leaving sharp tools in the garden bed creates a significant hazard for you and visiting wildlife. A hori-hori knife left partially buried can easily cause a deep laceration if you kneel or reach into the bed to plant seedlings. Furthermore, if you share your garden with pets or local wildlife, exposed tools can lead to accidental injuries for animals navigating the landscape.
Evidence-conscious plant care suggests that the best way to maintain soil health is to minimize unnecessary disturbance. By keeping your tools sharp and clean, you reduce the physical effort required to work the soil, which in turn reduces the likelihood of repetitive strain injuries. Clean your tools with a stiff brush after each session to remove soil-borne pathogens that could potentially spread diseases from one crop rotation to the next.
Finally, consider your physical posture. Raised beds are excellent for ergonomics, but when reaching across wide beds for succession planting, avoid overextending your lower back. Use a kneeling pad or a garden stool to keep your body aligned, and move your position frequently rather than leaning over for extended periods. By integrating these safety practices into your routine, you protect your health and ensure that your garden remains a productive, wildlife-friendly space throughout the entire growing season.

Troubleshooting Common Succession Challenges
Even the most meticulously planned succession schedule encounters hurdles. Gardening is a dynamic biological process, not a static timeline. When crops fail or the weather turns, your ability to pivot is what separates a seasonal hobbyist from a resilient food producer.
Overcoming Seedling Damping-Off
Damping-off is a fungal disease that causes young seedlings to collapse at the soil line. It is often caused by overwatering, poor air circulation, or using non-sterile soil mixes. To prevent this in your succession trays:
- Use a sterile, light seed-starting mix rather than garden soil.
- Ensure your seed trays have excellent drainage and never sit in standing water.
- Provide a small oscillating fan to improve airflow around the seedlings.
- Water from the bottom by placing trays in a shallow pan, allowing the soil to wick up moisture without soaking the stems.
Managing Mid-Summer Pest Pressure
Succession planting often means you have tender, young plants growing alongside mature, potentially pest-ridden crops. This proximity can act as a bridge for insects like aphids, flea beetles, or cabbage worms. To maintain momentum without chemical intervention, prioritize biological controls:
- Physical Barriers: Use lightweight floating row covers immediately after seeding to prevent adult insects from laying eggs on your new crops.
- Companion Planting: Interplant aromatic herbs like dill, cilantro, and basil near your vegetables to confuse pests and attract beneficial predatory insects like lacewings and ladybugs.
- Sanitation: Remove spent plants immediately. Do not leave “trash” in the bed, as it provides a refuge for pests to wait for your next round of seedlings.
Navigating Weather Shifts
Climate unpredictability is the biggest challenge to a fixed calendar. If a heatwave hits during a cool-season planting, or an early frost threatens your heat-lovers, don’t force the schedule. If your greens are bolting early due to heat, harvest them as “baby greens” immediately rather than waiting for full maturity. If a cold snap threatens summer crops, utilize frost blankets or cloches to extend their life by a few critical weeks.
Knowing When to Pivot
Sometimes, a crop simply fails to germinate or succumbs to disease. The “sunk cost fallacy” is a common trap; do not waste precious growing space on a failing row. If a crop hasn’t emerged or is visibly stunted after two weeks, pull it. Before replanting, assess the soil health. If the failure was due to pest pressure, switch to a different plant family entirely—for example, if brassicas failed, try a legume like bush beans, which will also help fix nitrogen in the soil.
Efficient Transitions
Transitioning from cool-season greens to heat-loving crops requires a quick soil refresh. As you clear out finished spring crops, avoid tilling the entire bed, which disrupts the soil microbiome and brings dormant weed seeds to the surface. Instead, use a broadfork or a sturdy garden fork to aerate the soil gently. Add a half-inch layer of high-quality compost to replenish the nutrients depleted by the previous crop. This “no-till” approach preserves the fungal networks essential for healthy plant roots, ensuring your next succession of heat-loving crops—like peppers or tomatoes—has the best possible start.
If you find yourself behind schedule, prioritize crops with shorter “days to maturity.” Fast-growing varieties like radishes, arugula, or baby kale can often be squeezed into a window that longer-maturing crops might miss. Keep a garden journal to record these pivots; next year, your schedule will be more accurate, and your garden more productive.